
A Pegboard That Gives Tools Back Quickly
Lay out a workshop wall around common jobs and make each tool easy to remove, inspect, and return to a secure hook.
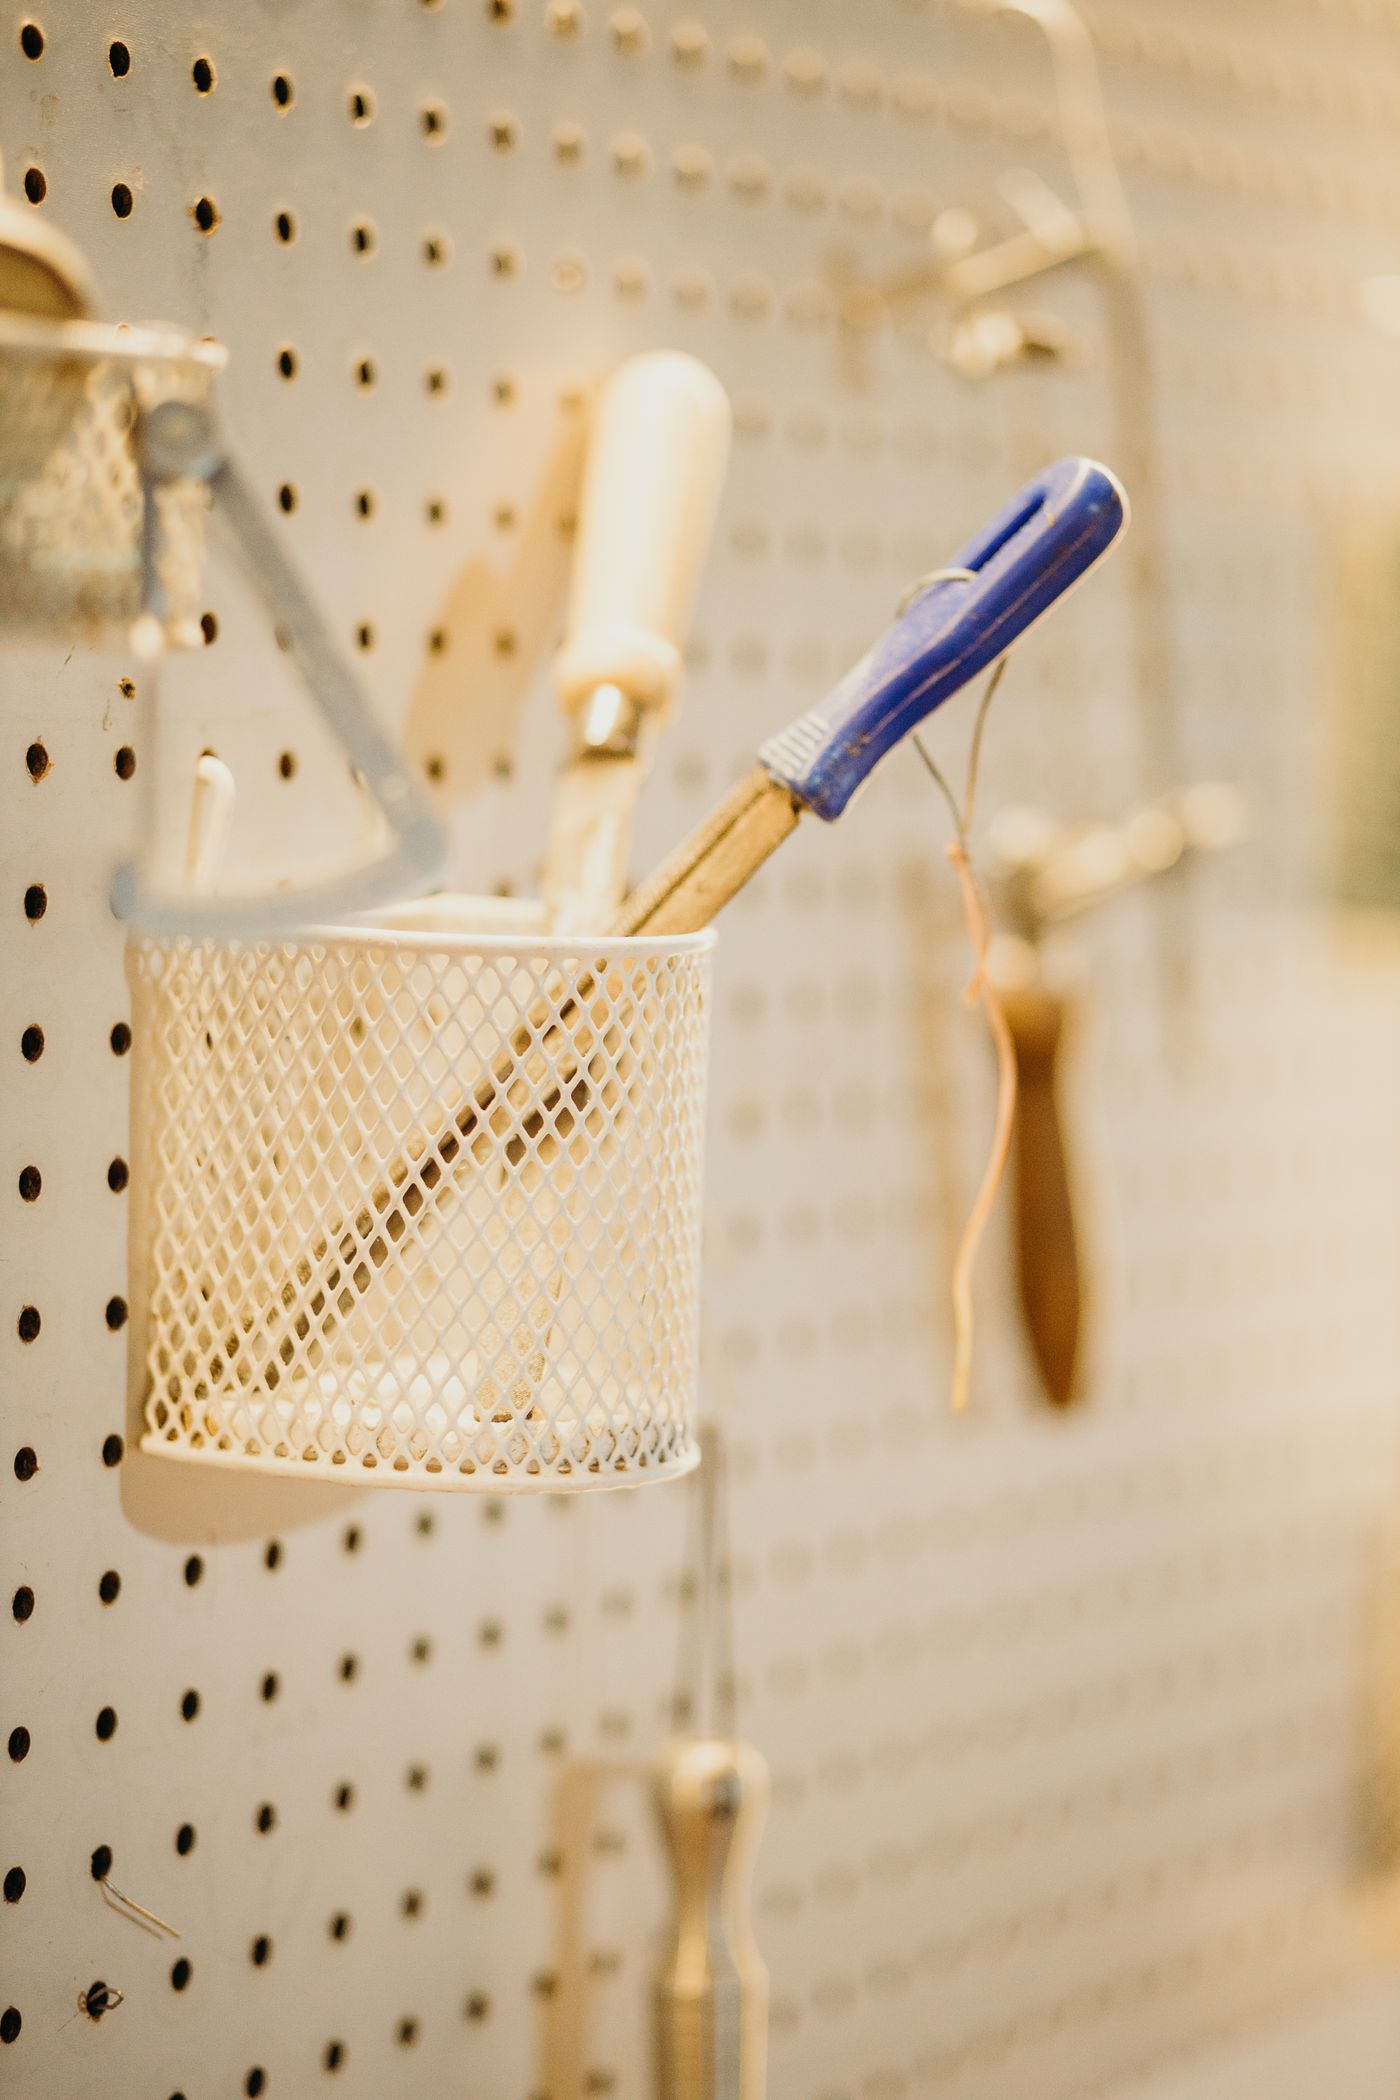
A well used workshop wall rarely looks like a shop window. The little screwdriver might be closer to the measuring tape than to the larger screwdrivers, because those two go out and come back together. The outline beside the pliers may be slightly scuffed where a hand reaches for them every weekend. A pegboard suits this kind of work because its parts can be moved as you learn which positions make sense. Begin with a board you can mount and load safely, then set up for a few jobs you know you do. The pattern that comes out of those jobs is more informative than an empty grid waiting to be filled.
Observe one job from start to finish
Pick something ordinary, such as tightening a loose handle on a cupboard or adjusting a drawer fitting. Lay the tools you use on the bench as you take them out. Leave them where they land until the job is finished. Which were necessary? Which did you bring because you weren't sure of the size? Which did you spend time looking for? Do the same for another task with a different set of tools. A tape measure and a pencil might be common to both tasks. A specialty tool may only matter when it is packed together with its own pieces. The short set that serves everyday work earns the open wall. A complete collection can stay in suitable protected storage when only one piece sees regular use.
Trace your hands during the job. If you normally measure to one side of the bench, the tape can go near that spot at a reach that doesn't require leaning over a project. If the favourite pliers get used away from the bench, put them somewhere you can collect them from the approach and return them without reaching around an obstruction. Leave room for a movable tray when you're working on a job that uses several tools in another room. A short list of what goes into that tray may do more for portability than a second set of tools scattered across shelves.
Get rid of the assumption that everything ought to hang up. Sharp tools, heavy objects, power tools, batteries and hazardous supplies may need other storage and handling. Follow their instructions and keep children and unauthorized users away as appropriate. Small loose fasteners can be easier to find in a labelled box or a compartment than in an open tray above the bench. A tool that is sensitive to moisture might live inside a suitable cabinet while a common measuring tool sits on the board. Decide what the wall can do safely before choosing where each piece should hang.
Treat the panel, hooks and wall as one system
Check what kind of board you have and which hooks and accessories are meant for it. Holes and hooks that look compatible can differ enough that a hook sits loosely or has to be forced. Follow the product instructions for mounting, spacing from the wall, supports and load limits. Some systems rely on clearance behind the board to seat the hooks correctly. Verify the wall construction and safe fixing positions, and check for concealed services before drilling. If you cannot establish a sound mounting or the hardware is beyond your experience, have it installed by someone qualified. A strong panel won't make a weak wall fixing more reliable.
Think through the loads near the edges as well as the total load. A tool extends from the face of the board and can pull or twist a hook during removal. Heavy or bulky items need specifically suitable storage, and the board may not be the best place. Spread loads in line with the system's instructions. Keep items clear of working areas where you could hit them with a shoulder, carry a board into them or knock them while opening a cabinet. Check that a hook without a tool doesn't leave a hard to see point in the path of a hand. If the board could be approached from the side, inspect that view too.
Before adding all the tools, fit a few hooks and remove the selected tools in the order they are likely to be used. A hook can come loose when you lift a tool from it if the hook depends on the tool's weight to stay in place. Use the approved retainers or a compatible design if needed. Watch whether a handle strikes the next tool or requires a sharp sideways movement to clear a lip. Find a better hook shape or give the tools more space. The mount should suit the removal motion, not just the tool's resting position.
Position the handles where the work happens
Start in the range you can reach while standing normally in front of the bench. Put everyday hand tools there where they can hang securely and be picked up by a safe grip. Leave enough area around each handle for the full hand. If a tool has to be lifted before it comes forward, test the space above it as well. A board with crowded handles can appear to have space because the tools cover different holes, but the hand has to travel through the space between them. Long handles can overlap in ways that do not appear until you take one off the board.
Give tools with a common purpose a small area. A group for measuring might contain a tape, a suitable square and a pencil. Some jobs may use the pencil and tape together while needing a different square. Leave room for variation. Position infrequently used tools further from the common reach, provided they remain safe and easy to take down. You may also give the person who uses a tool most often the most comfortable access to it. In a workshop shared by a left handed person and a right handed person, test both approaches, particularly where a wall or cabinet blocks one side of the bench.
Keep the light useful. A shiny tool can be hard to identify when its face reflects a lamp, while a dark outline disappears on a similarly coloured panel. Check the board under the light used during ordinary work. Move a portable lamp only where it can be used safely, with cords clear of routes and work surfaces, or choose an appropriate improvement to the existing light. If the handles of two tools look alike, position them so you can see a distinguishing feature before picking one. Labels can help, but first see whether the tool can present the useful part of itself without making the grip harder to reach.
Small socket heads or screwdriver bits deserve a holder that keeps each piece secure and lets you see its size. Check whether the markings remain readable at the height of the board. If you need to remove several bits just to read the one at the back, a compatible shallow holder on the bench may work better. Keep pieces that belong to a single set together when you move them.
Use markings where they help a tool find its way home
Trace an outline only after a layout has survived a little use. A paper marker or a small removable label is enough for a trial. Labels are particularly useful when the same tool must go back to a position where more than one person will look. A word like "long pliers" can be clearer than an outline for two tools of a similar shape. If you want a visual reminder that a tool is missing, add a simple mark behind the normal position. It should be visible with the tool gone and unobtrusive when it is in place. Leave room to move a hook without having to redo the whole board.
Decide what will happen when a tool isn't immediately ready to hang. Put away a tool only after cleaning or otherwise caring for it as appropriate. Make a place at bench level for a tool awaiting repair or inspection so it doesn't return to active use by mistake. If several tools travel to a different room, check them back into the workshop after the job rather than allowing their places to become empty by default. On a shared board, make it possible to tell whether a missing item is in ordinary use or needs looking for. One temporary reminder may be enough where only a handful of tools ever leave.
Leave a little empty board after the first month
After a few weekends, look for the tools still lying on the bench at the end of a job. Some belong on the board in a better place. Others are there because the job isn't finished and should stay together in a suitable tray. Remove any item you added to the board for symmetry and never reach for. Check the hooks, retainers and mountings and address looseness or damage before using the affected part again. As you add accessories, keep the loads and spacing within the system's requirements. The available holes do not indicate how much more weight the wall should carry.
Leave an open part near the tools most likely to change. A new handle may be wider than the old one, or a particular project may need one additional tool within reach for a month. An empty row also makes the remaining tools easier to identify. When you come to tighten a loose handle again, see whether the tools you chose are the tools you can now collect without turning away from the bench. Notice where they go when the job is finished. The most useful improvement may be a single hook moved into the path of the hand that returns the tool.