A Table Runner Cut to Follow the Stripe
Place a stripe where it belongs on your table, then fold and stitch a simple runner with room for the fabric to behave as it will.
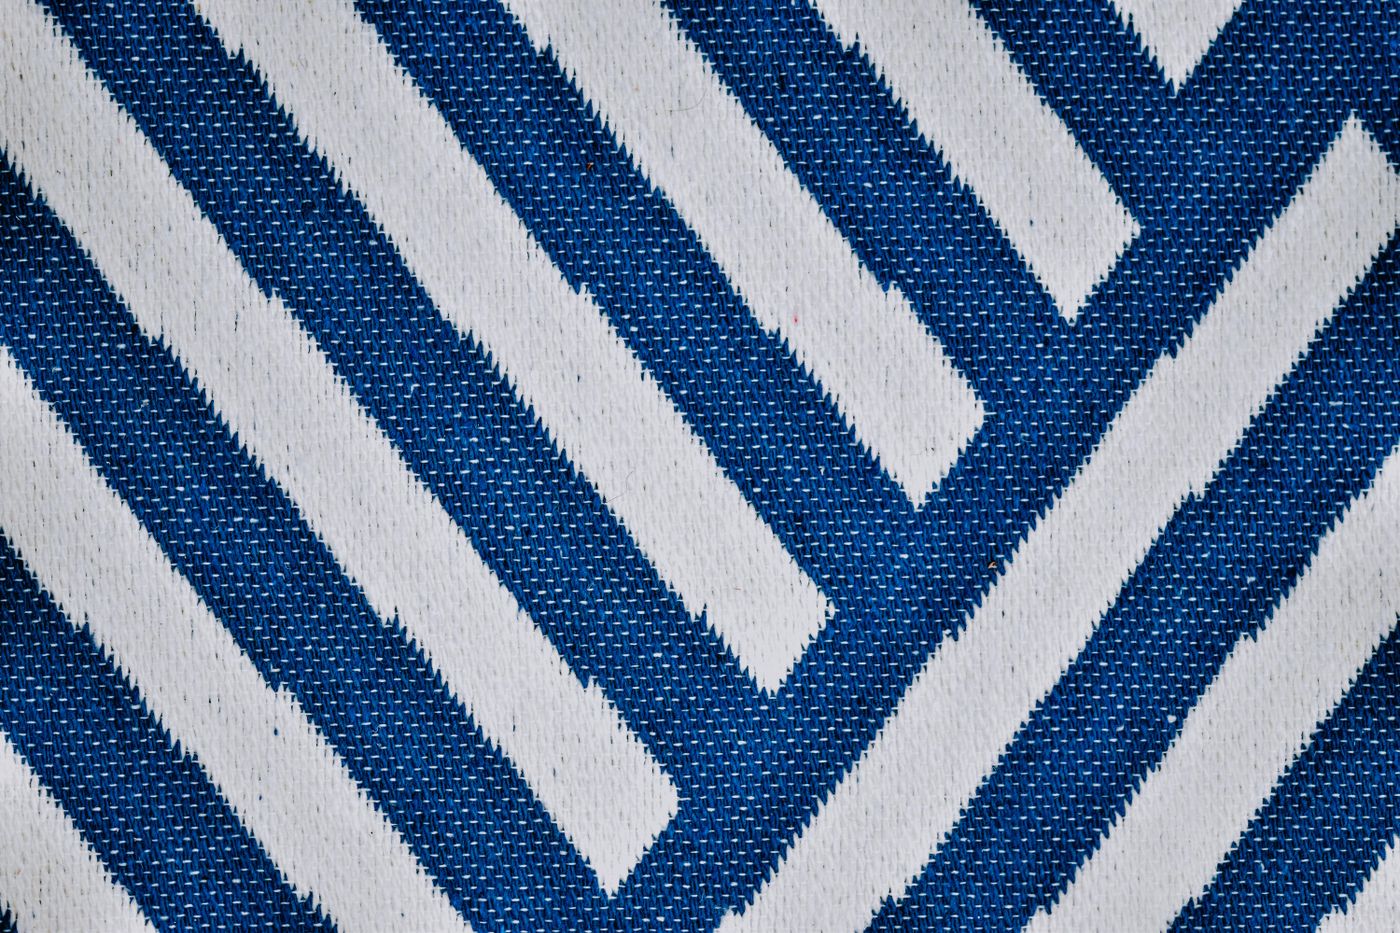
Striped cloth can do part of the measuring for you. One line can guide a long fold and another shows where the cloth has twisted. The print can also make a small error easier to see. A stripe that runs parallel to the edge for most of the table may begin to disappear into a hem at one end. A carefully centered strip can look different when the plates arrive and cover its middle. Before cutting, lay the cloth on the actual table and decide what part of the pattern you want to see when people use it.
Choose a woven fabric appropriate for everyday table use and a simple hem. A light or medium cloth is generally easier to fold at corners than a very bulky one. Follow its care guidance, and launder it first if the material and its intended use call for it. Press it according to the instructions and let it rest on a flat surface before measuring. Gather a ruler, fabric scissors, suitable removable marking tool, thread, clips or pins, and equipment for hand stitching or machine stitching as appropriate. Test the marking and pressing methods on a scrap.
Measure the table with the plates in their places
Set a plate, glass, and anything that usually sits at the center of the table. Hold a length of paper or spare cloth between them. A runner may stop well inside the table edges or extend beyond the ends. Look at the table from a chair as well as from the doorway. A long drop can be visible from across the room and inconvenient where somebody sits at the end. A short piece can give serving bowls a shared place in the middle and leave each end clear. Choose the length for the table and the people who sit around it.
Mark the finished length and width on paper. Put the paper on the table and move it around until it leaves the spaces you want beside it. A long narrow piece may sit well under a few objects. A broader runner can work if the center of the table is empty much of the time. Notice where the edges fall in relation to the usual plates. An edge directly under half a plate can make it sit unevenly if the hem is thick. Move the paper inward or outward and see how the spacing changes.
Record the finished size before adding allowances. For a simple double fold, you turn the raw edge under twice. If each fold is 1 centimeter, each edge takes 2 centimeters. A runner you want to finish at 90 by 28 centimeters would need a rectangle 94 by 32 centimeters with those allowances on all four sides. Those numbers assume the folds are made accurately and the fabric is prepared for its intended care. If a scrap test suggests a different hem width, calculate the rectangle again.
Find the stripe you want to keep visible
Spread the cloth without stretching it and examine the repeat. A broad dark stripe with narrow pale lines on either side can give the runner a clear center. An alternating pattern with no dominant line may look balanced when a whole repeat sits in the middle. Fold back the proposed hem allowance temporarily on one side. A small stripe may disappear completely at the fold, or a pale border can be left inside by moving the rectangle a little. Try two placements before choosing where the sides fall.
Check the direction of the pattern in relation to the woven threads. On a woven stripe, the stripe can follow the yarn direction closely. A printed stripe may drift from it or look straight on the face while the cloth lies skewed. Let the fabric rest flat and use the thread direction as a reference for a stable shape. If the stripe noticeably wanders and the thread direction is straight, choose a more forgiving section of cloth or give the edges a little more room. A stripe will make the mismatch easy to see if it almost touches the fold at one end and sits farther in at the other.
Compare the amount of color at each end of the runner too. A repeat with strong crosswise bands may call for an intentional end position. Decide which part of the pattern you want to show before committing to an exact length. A small change in the finished length can give the ends matching groups of lines. On a runner with only lengthwise stripes, use a clear perpendicular reference for both ends so the rectangle will be square. Use a ruler and a set square or another reliable right angle. Mark the rectangle lightly and check the measurements at several places before cutting.
Make one corner from an offcut
Cut a small rectangle of the same cloth and practice the folds you intend to use. On a thin fabric, try folding and pressing both long sides first, then folding the short ends so the raw edges are enclosed. Where the folds overlap, there will be more layers. Check how thick the corner feels before making four of them. If it is too bulky, a thinner cloth or a different hem method may suit the project better. A corner test is easier to change than a runner already cut to size.
Press the first fold and then the second as appropriate for the fabric. Measure in a few places instead of letting the stripe decide on its own. The line may serve as a guide when it lies at a consistent distance from the raw edge. Follow the edge measurement where it does not. Look from the front of the sample. A double fold can make one color look broader because the other color has been turned out of sight. If you want the edge to read the same on both sides, compare the visible pattern before stitching.
Try the thread on that same scrap. A close color may blend with one stripe and show on the next. Decide which face is most visible and look at the stitches in its usual light. A line that shows a little can be a reasonable part of the design when the spacing is even. For machine sewing, choose an appropriate needle, thread, and settings for the cloth and follow the machine instructions. For hand sewing, test a modest length of thread and a comfortable stitch that secures the fold without drawing up the fabric. Use pins or clips as appropriate, and remove them safely as you work.
Work along the long edges without stretching them
Lay the full rectangle on a stable surface. Press and secure the folds according to your sample and the care guidance for the cloth. Check that the runner still matches the finished width at both ends and in the middle. The pattern can help you find places where the folded edge has drifted. A single wide spot can be moved a little before sewing. If the entire edge is cut slightly unevenly, decide whether you have enough allowance to make a consistent finish without losing the amount of the stripe you want to keep.
Support the cloth as you sew so its weight does not pull the long edge away from you. Check the fabric occasionally for puckering. If the seam begins to gather, stop and test the stitch on a scrap before continuing. A hand stitch can pull the fold into small ripples if the thread is drawn too tight. On a sewing machine, follow the instructions for adjusting settings and handling the fabric. Let the stitch hold the fold without asking it to change shape. When a long edge is done, lay it down and compare it with the other edge before finishing the ends.
Fold and secure the short hems after checking the final length. Compare the two corners of each end. A little variation in the layers can make one corner appear thicker. See whether the fold can lie flatter with the fabric already cut and follow the method that worked on the offcut. Stitch carefully where the layers increase, using suitable equipment and technique. Look at the underside after completing each end so you can catch a section where the stitching failed to secure the folded edge. Finish any thread ends securely according to the stitch method.
Let the finished cloth settle on the table
Press the runner according to the fabric's guidance and lay it down with the usual dishes. Look for a side that rises or a corner that curls. A slight ripple may relax after the cloth is handled and cared for in the usual way. If an edge is pulled visibly shorter than the rest, inspect whether the stitching has gathered it. Correct the specific stretch if you can instead of remaking the whole piece. Compare the actual dimensions with the ones on your paper plan. Record them if you want to make a second runner from similar cloth.
Try changing the objects on top before deciding the proportions need work. A pitcher set at the center can hide the stripe you carefully chose, while two smaller pieces can leave a length of it visible. A place setting that rests partly on the hem may move a little farther toward the table edge. Use the piece for a normal meal and wash it as directed. Look at it again after it has dried. What stays useful will be the shape you can place without fuss, the finished edges you can care for, and the stripe that runs where you expected it to run.