Make an Embroidery Sampler You Will Keep Using
Put stitch tests, thread choices and small mistakes on one piece of cloth you can consult while planning the next project.
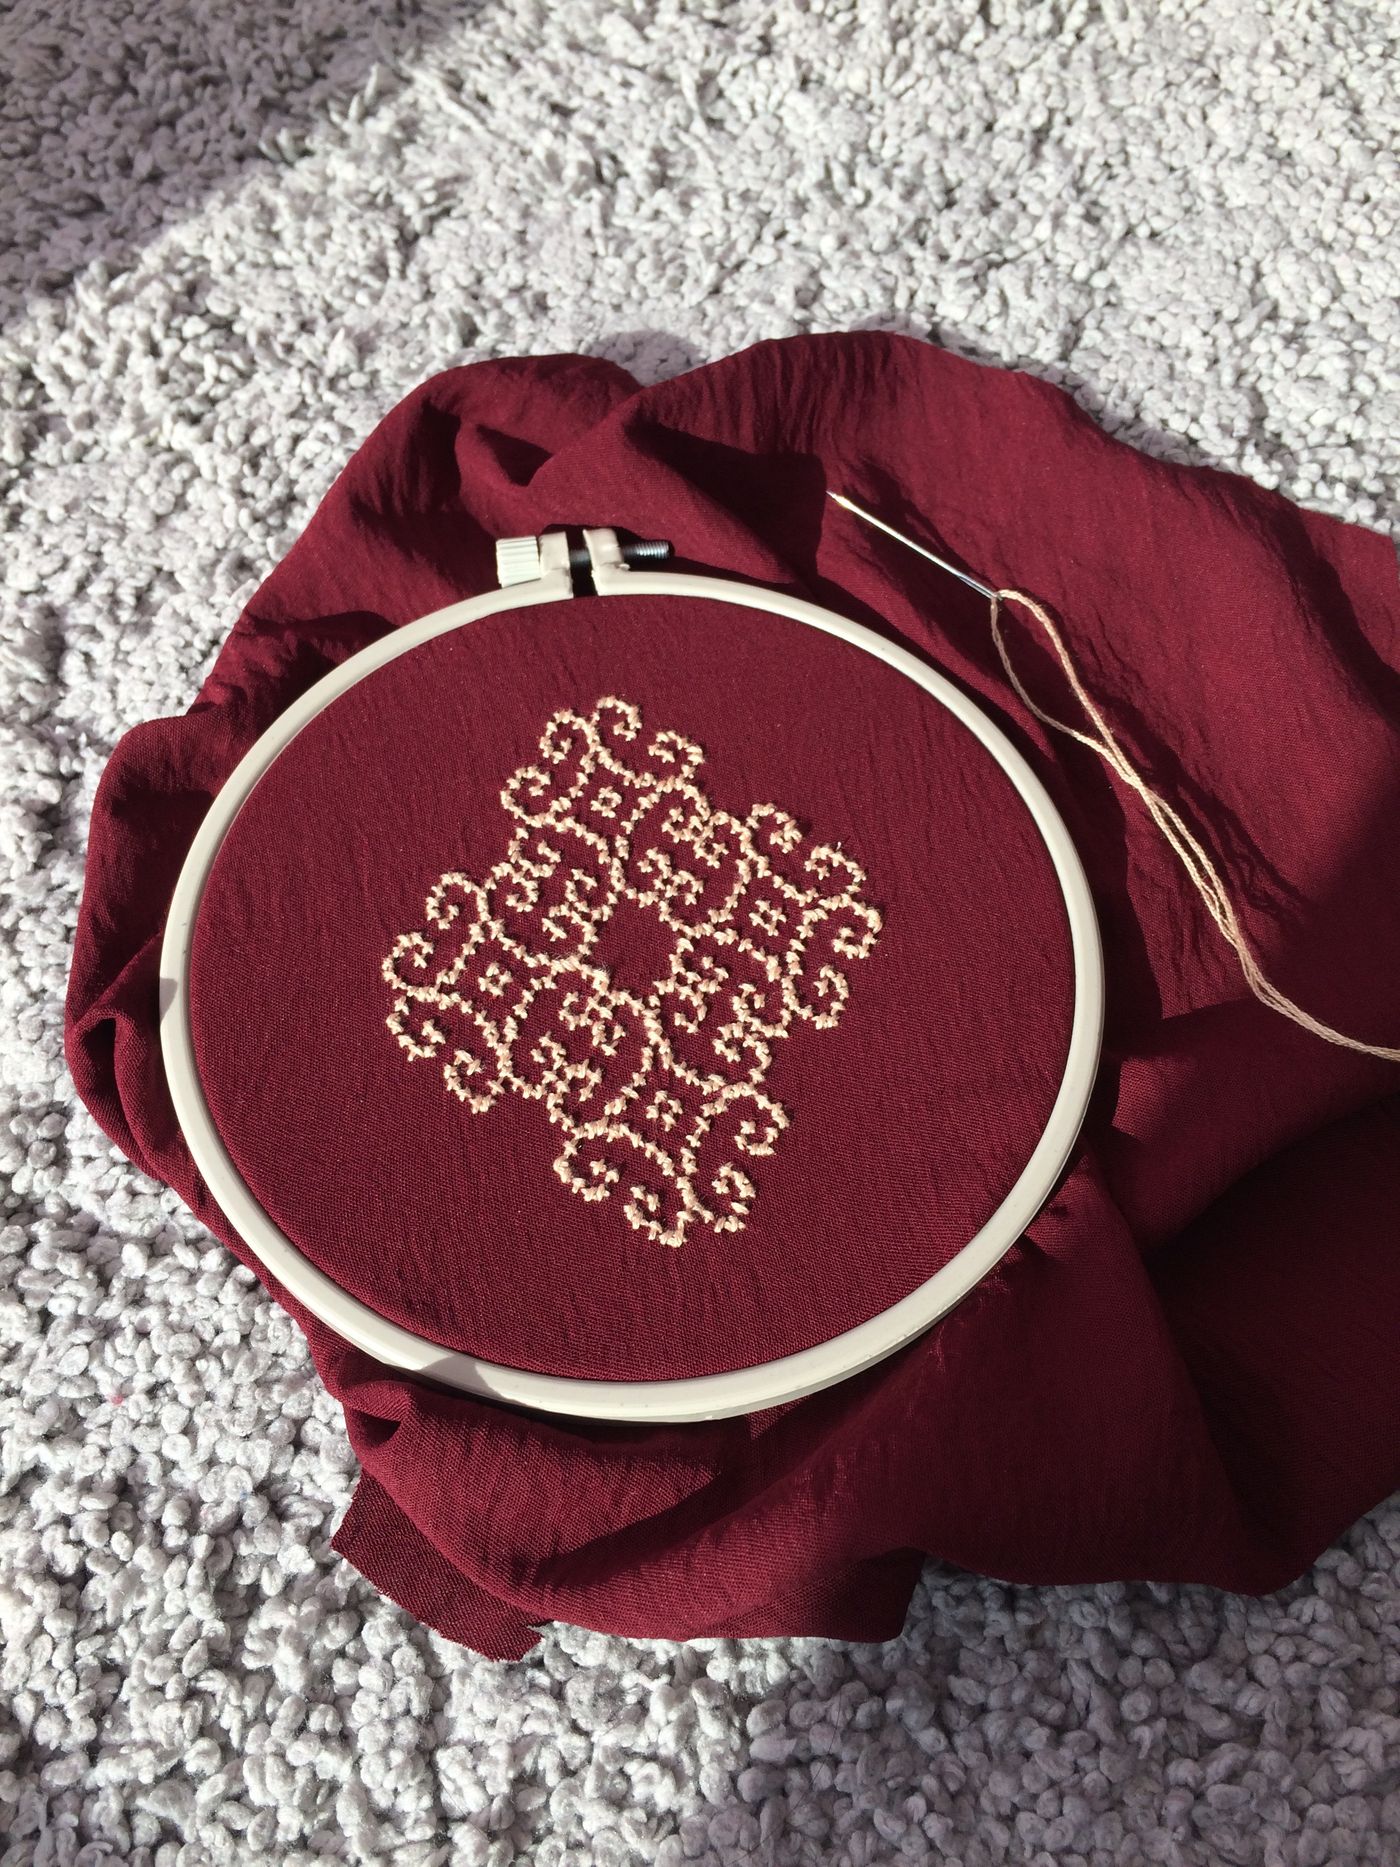
A stitch chart can show you exactly where a needle goes and leave out the thing you most need to know. Will the result look crowded on the cloth you already own? Does a different number of strands make a curve easier to follow? How will a pale thread look when the cloth is washed and viewed from across the room? A sampler can answer those questions with the same fabric, thread and hands you will use for the actual work.
Give the sampler a modest purpose. You might be planning a name on a cotton bag or a line of leaves along the edge of a cushion. Pick two or three decisions that are still open. The sampler is a notebook in cloth. If it helps you rule out a thread or change the spacing of a curve, it has done useful work even if it never becomes a picture.
Use cloth that can tell you something
If your project fabric came from a larger piece, save an offcut. Leave enough margin that a hoop can grip the fabric without swallowing the area you want to test. A scrap too small for a hoop can still teach you something about a thread color, but it is less useful for learning how the cloth behaves under tension. If you need a substitute, match the weave and weight as closely as practical. A loosely woven linen and a dense cotton may have the same color and give different results with the same stitch.
Prepare the scrap the way you will prepare the project. If the fabric needs washing first, wash and dry the scrap according to its care instructions. Test any temporary fabric marker on a corner. Draw a short line, remove it by the maker's method and look again after the cloth has dried. A faint remaining line can be hard to notice until you put white thread next to it. A design that can be marked with a few points instead of a continuous line may give you less to remove later.
Set the cloth in a hoop so the grain is square and the working area feels even. You want enough tension to see where the needle comes up without stretching the weave out of shape. Check the straight lines in the fabric as you adjust it. If one side pulls diagonally, loosen the hoop and reseat the fabric. Note whether the cloth creases after the hoop comes off. A fabric that shows a deep mark might need a shorter time in the hoop or a different support method recommended for that material.
Stitch a line, a corner and a curve
Begin with a simple line you can reproduce. Draw a row of three lines of the same length and decide what you will vary. Try a thin group of strands on the first, a thicker one on the second and another thread on the third, keeping the stitch length roughly alike. Or keep the thread the same and change the stitch length. Change one thing per line if you want to know what made the difference.
On the next row, introduce the shapes your final design needs. A long straight border asks different things of a stitch than the curve of a lowercase letter. Work around a tight bend and a gentle one. Look at the inside of the bend, where stitches may bunch, and then at the outside, where the cloth can show through. Shorter stitches can follow a tight curve more closely, but shortening every stitch on a long border may add work without improving the view at normal distance.
Use the same type of stitch if you are comparing strand counts. A backstitch, for example, makes a continuous line when the ends meet. Test how the joins look with fewer strands and more. If you are comparing stitches, keep the thread and line length the same so you can see what the stitch itself contributes. Write the name and strand count on a paper sketch of the sampler before moving on. An uneven line you remember now may be hard to identify next month.
Compare colors away from the hoop
A spool can look distinct from its neighbor while the stitched lines almost disappear into each other. Put two candidate colors beside each other on the fabric. Try them in the amounts the design calls for. A deep color used for a few points may look lighter in the design than the same color used for a dense area. If you will be stitching through a printed fabric, test in a light patch and a dark patch instead of judging the whole print by its dominant color.
Take the sampler to the room where the finished piece will live. A decorative cushion may sit in a darker part of a room than the sunny table where you stitched it. A bag will be seen outdoors and in artificial light. Lay the sample down, then step back to the distance from which the design is likely to be noticed. Decide which marks need to read clearly at that distance and which can reward a closer look. A sample that seems too bold in your lap can make sense from the other side of a chair.
If you are working from a pattern with specific thread colors, keep a record of any substitutions. Include the manufacturer, color code and strand count where you know them. If you are using mixed remnants without labels, tape a short strand to your paper sketch or tie it into an identified row. Save enough of any hard to replace color for the parts that have to match. You can plan a design around two related colors if you know in advance which one might run out.
Turn the cloth over
Look at the back before calling a row finished. Loose loops can snag during use. Long threads carried behind a light fabric can show through or draw the surface together. A dark stitch might look unusually strong because it has a second thread running behind it. If a row has a shadow you cannot explain, inspect the route of the thread on the reverse before blaming the fabric.
Gently bend and flatten the sampler. A pucker around a densely stitched block may come from pulling too hard, cramming too much thread into the space or stretching the fabric while it was held. Try a less crowded version next to it and see if the fabric lies flatter. Keep both examples. Comparing one sample you like with a second one you can diagnose is more useful than saving only the clean row and forgetting why the other one failed.
Remove pins and needles from the cloth when you finish working and store them safely. If the final item will be laundered, test the sampler under the same permitted washing and drying conditions before committing. Use a small separate test for any uncertain color transfer. Let the sample dry and check the edges of the stitched area, the position of knots or thread ends, and any stiffness left by the marker. The sample has earned its keep if it exposes a problem while it is still a small piece of cloth.
Leave enough information for a future project
Add a date and a quick note about the work the sampler was for. Name the fabric if you can and record the needle size if it made a noticeable difference. Include the tests you would repeat. A useful note might say that two strands were legible from across a table but a third made the small curves bulky, or that one particular marker cleaned away only after the sample was rinsed as directed. Those are observations you can bring to the next design without having to remember the evening you made them.
Keep a photograph of the sample beside a ruler if the stitch spacing matters. Take it from directly above while the cloth is lying flat. When you later scale a sketch to fit a larger or smaller item, the ruler gives you a way to tell whether that curve will still have room for the same number of stitches.
Store the sampler flat or loosely rolled in a suitable dry place, with the paper record nearby. If you want to keep several tests together, give each one a number on a small label or on the corner of the cloth so you can match it with the record. Avoid folding through a dense patch if you want to compare the surface later. Leave some blank space on the cloth for the question that turns up halfway through the real work.
A sampler can be useful even after its original project is finished. You may be able to reuse the curve test for the next lettering job or compare a new fabric against an older one. If you teach someone a stitch, the uneven sample can show them what to watch for and the flatter sample can show what a small change makes possible. The good part of keeping the cloth is that it carries evidence. When a drawing tells you how the stitch is supposed to look, you can pick up the sampler and see how it actually looked in your hands.