Practice With a Brush and Roller Before Painting a Wall
Use a portable sample board to learn how your paint covers, where the brush marks show, and how the roller feels at the end of a pass.
A paint color sample tells you what a color does when you put it beside a window. A practice board tells you what you do when you try to put the paint there. The two can be combined on one board, but keep the questions separate at first. If the lower half looks a little darker, it might have received a heavier coat. If a line shows near the edge, the brush and roller may have left different textures. A small, movable surface is a good place to see those differences. It can sit at the height where you work, go to another corner for comparison, and come back to the table without changing anything in the room.
Pick a project for which a test can answer a real question. A bedroom wall with a broad window may show every change in texture beside the trim. A small patch behind a cabinet may simply need enough coverage to blend with the rest of the room. Someone who has never used a roller can learn how far one load of paint travels. Someone who paints regularly might need to see how a particular sheen shows their brush marks. Make the practice patch large enough to use both tools with a natural motion.
Prepare a sample you can compare with the room
Choose a stable board intended for paint samples or a new scrap surface compatible with the paint. Read the instructions for the product and ask the supplier what sample surface is useful if you are unsure. Absorbent paper can give a false impression of coverage, while a slick surface may react differently from a wall prepared as directed. A board will still be an approximation. Write down its material and how it was prepared. If your eventual wall has a different texture, compare your practice to the expected surface before assuming one coat or one technique will work the same way.
Avoid using an unidentified old painted panel as a practice surface. Use new material that does not require disturbing an old coating. For a room that needs repair or has an old or unidentified finish, seek appropriate professional assessment before preparing the walls. Work with ventilation and the protections specified on the paint and tool labels. Keep a sample away from food preparation, children, and pets, and set it on a stable protected surface where it can dry. A small trial should be simpler to arrange than the real painting, with the same attention to the materials you handle.
Mark a border using a method that suits the board and will not affect the area you compare. Pencil marks outside the painting area are enough for the first run. Decide whether you want one surface to practice on or two similar samples for comparison. The second is valuable when you want to try a different tool or amount of pressure. If you paint over your first attempt before looking at it in different light, you lose much of what it could teach you.
Watch the edge the brush makes
Pour a modest quantity into a suitable tray or container as directed. Use a brush compatible with the paint. Practice putting a short line of color next to the marked border. Begin a little inside the area to see how much the brush releases before attempting the close line. Hold it the way you will work at the wall and take your time through the first pass. A brush that seems easy to steer on a table may take more control at shoulder height. Reposition the sample safely to a comfortable upright working height for the next trial.
Look at the relationship between the edge and the painted area beside it. A carefully drawn line can have a raised ridge just inside it where extra paint has collected. A thinner border can look uneven because you reached farther than the brush could carry its load. Try working along a shorter stretch and observe how it changes. On a tall patch, you may be able to work in smaller areas without changing your tools. Note the point at which you start lifting the brush to avoid a ridge. A smaller range of movement may help you keep the line consistent.
Try the place where two edges meet. On the board, draw an inside corner to represent the end of a stretch beside trim. Follow one line up to the corner and then approach from the other direction. Look for a patch that has effectively been painted twice, or a small triangle missed when the brush changes direction. A corner practice patch can tell you which angle feels easiest for your hand. At the wall, respect the preparation and masking guidance for the particular adjacent surfaces, and keep work within a safe reach.
Compare a light roller pass with a firm one
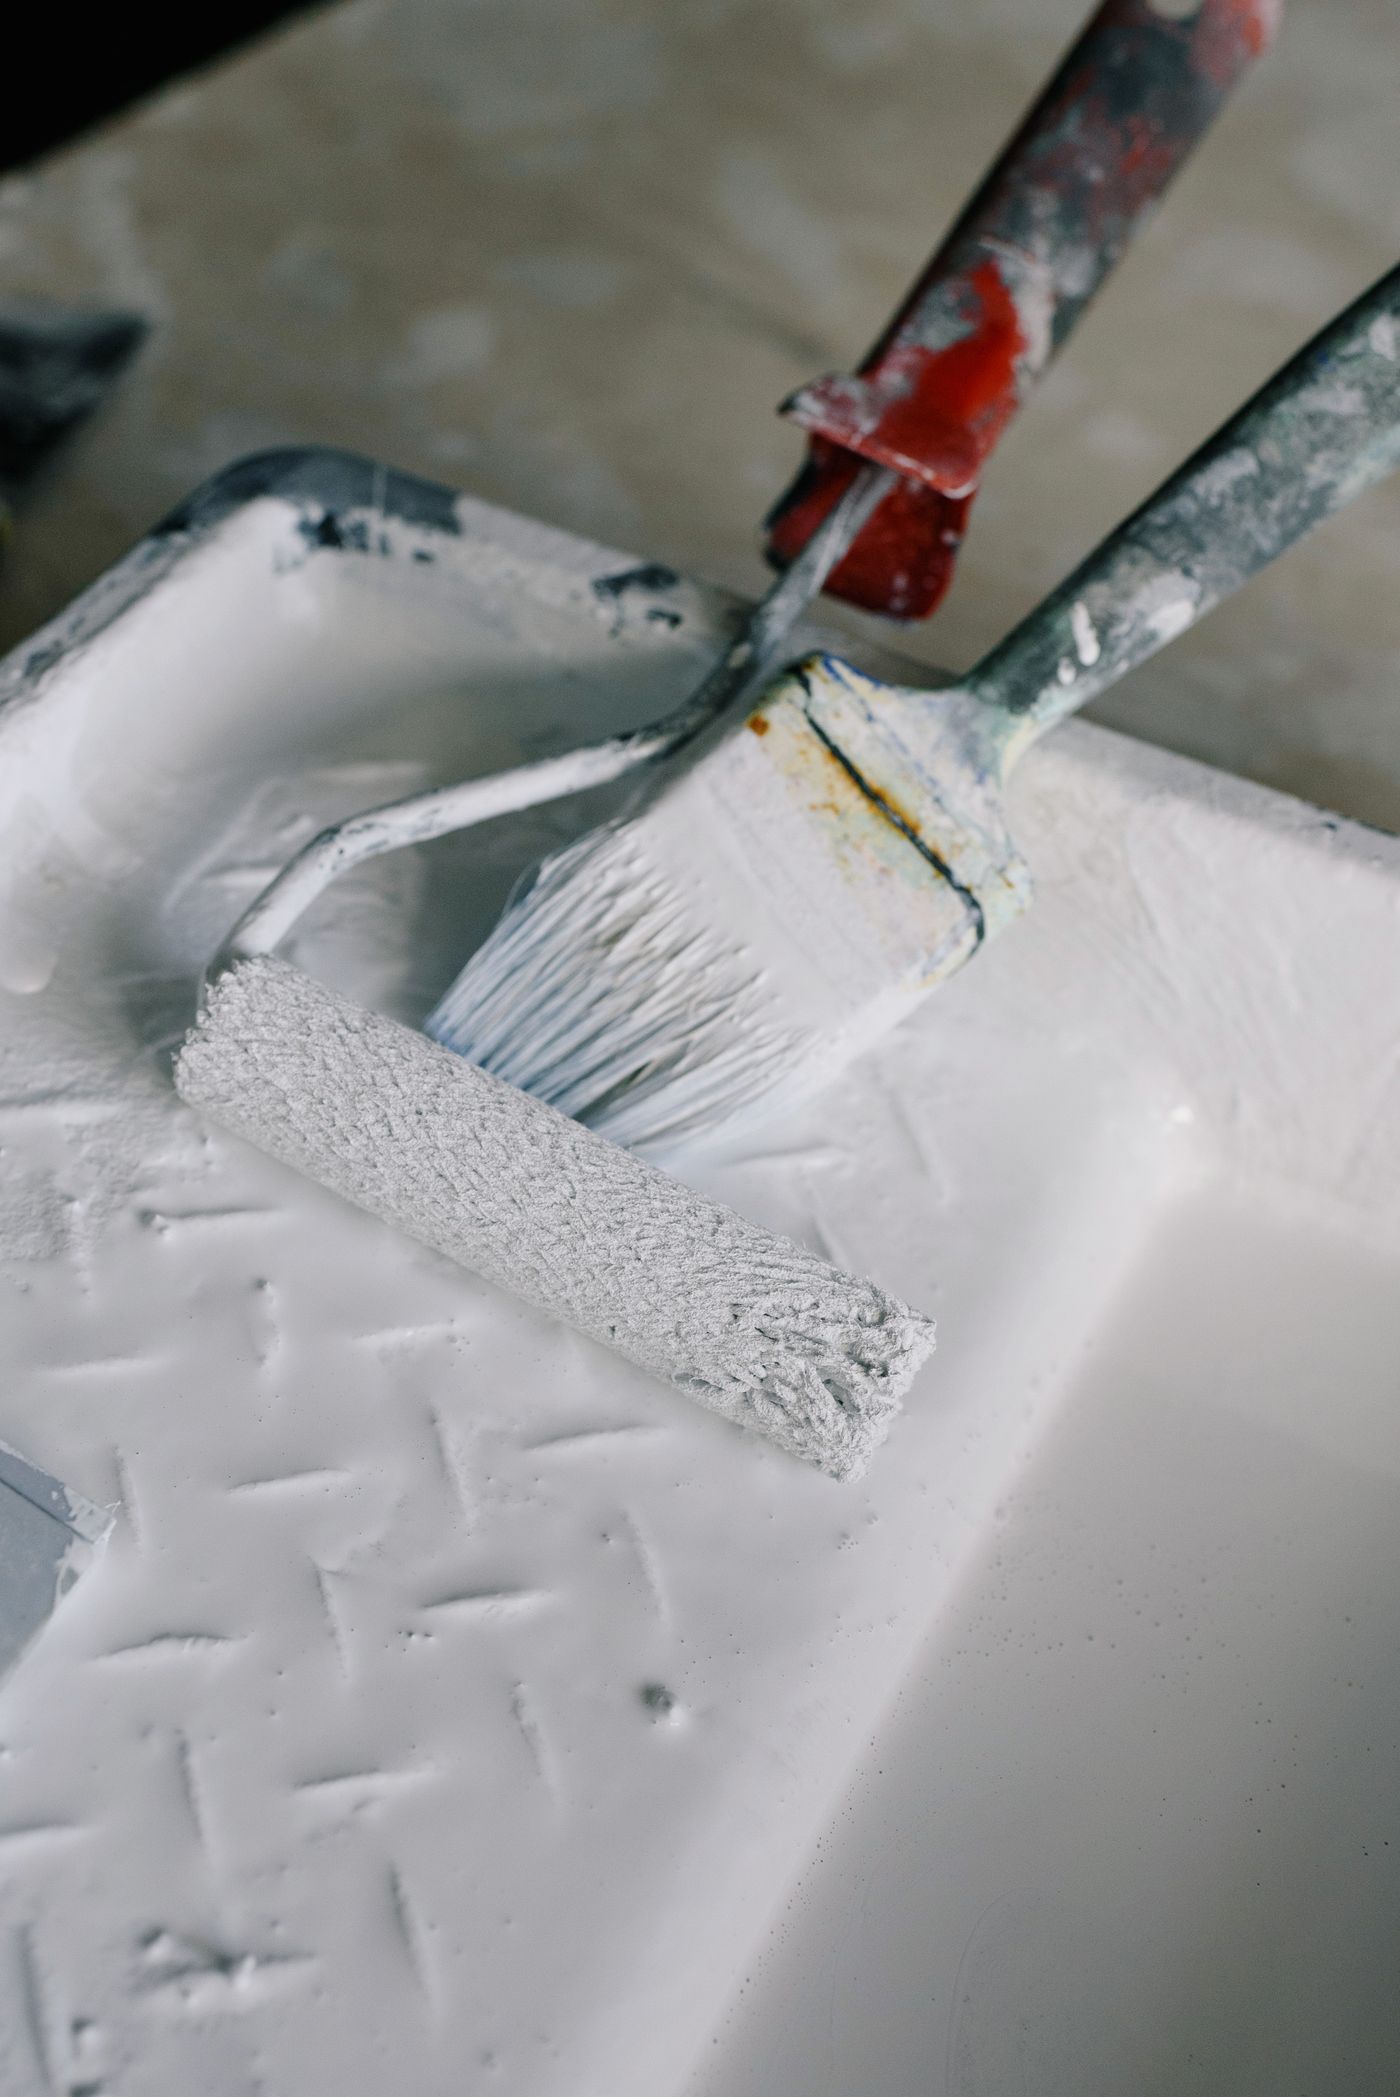
Use a roller compatible with the coating and surface and follow the maker's directions. Load it in the tray and see whether paint is distributed across its width before setting it on the sample. A wet edge on one side can give you a visible ridge on the board. Start in the open area where there is space to observe the pass. Look at the center first and then both edges. If one side leaves more paint, check the distribution before trying a harder pass.
On the next area, compare what happens when you use a comfortable, even pressure. Pressing more firmly to get the last paint out of a roller may leave a different surface from using a comfortably loaded roller. If you are tempted to keep stretching each load, take note of where the coating looks thin and where the pattern changes. Try a shorter run. Give each trial a label outside the paint and keep the product and surface consistent. The way the board looks when dry will help you decide which movement to repeat.
Observe the join between neighboring passes. One pass may be adequate on its own and leave a visible line where its edge meets the next one. Paints vary in how long they remain workable. Follow the directions for timing, conditions, and recoating, and resist reworking a section once it has started to set. With a practice board you can leave a conspicuous join in place to examine later. That is more useful than covering it while it is still wet and forgetting exactly where it came from.
Look closely where the two tools meet
Put a brushed strip on one side of the board and try rolling into the area beside it according to the product directions. Compare a portion where the textures overlap with a portion left separate. A brush and roller produce different surfaces even when the color is the same. Seen straight on, the band may disappear. Seen from a window with light falling across the board, it may be the first thing that catches your attention. Pay attention to where you stop the roller. A long untouched brush band can show more than a small variation in color.
Decide which differences are visible at the scale that matters. Marks that stand out on a small sample held in your hand may fade when the sample is at wall distance. A broad stripe invisible at noon can become clear beside a shaded lamp after dark. Look from the doorway and from the chair nearest the proposed wall. Put the sample in a few positions if it can be moved safely. Take photos in the same light if you want to remember the change. Keep the label with the board rather than relying on a camera to reproduce color accurately.
If the board shows uneven coverage, make sure it has dried as directed before evaluating it. A wet edge and a dry edge can differ considerably. Write down whether a mark follows the roller path, repeats wherever the brush touched, or corresponds to the board itself. Try another small run with one change at a time. Compare the results when both samples are dry. You might discover that changing the way you load the roller does more than changing the tool, or that the brush band is only conspicuous from one part of the room.
Turn the trial into a useful plan
Record the brush and roller you used, the product, and what you learned about the amount of surface you can comfortably cover in a pass. Put a star beside anything you want to remember when working on the wall, such as the direction you prefer to approach an edge. Note any area where the wall will be different from the sample. A stronger sidelight or a different substrate may affect the result. Keep the board while you work if it helps, then store or dispose of the materials as directed for the products and your area.
Decide how to stop at the end of a session. The manufacturer may specify cleanup, storage, and disposal for the paint and tools. Follow that guidance and set out what you will need before you begin. A practice run gives you a chance to see whether the tray is easy to move, whether the roller handle suits your reach, and whether you have a place for the board to dry. These details can matter when you move from a single patch to a room.
At the last comparison, look at the trial from the place you care about most. A broad wall across from the window may ask for an even texture. A small wall beside a shelf may only need the edge to be clean. The sample can help you identify the part that deserves the most care. One afternoon of practice leaves you with a piece of painted material you can look at and a movement you already know how to repeat.